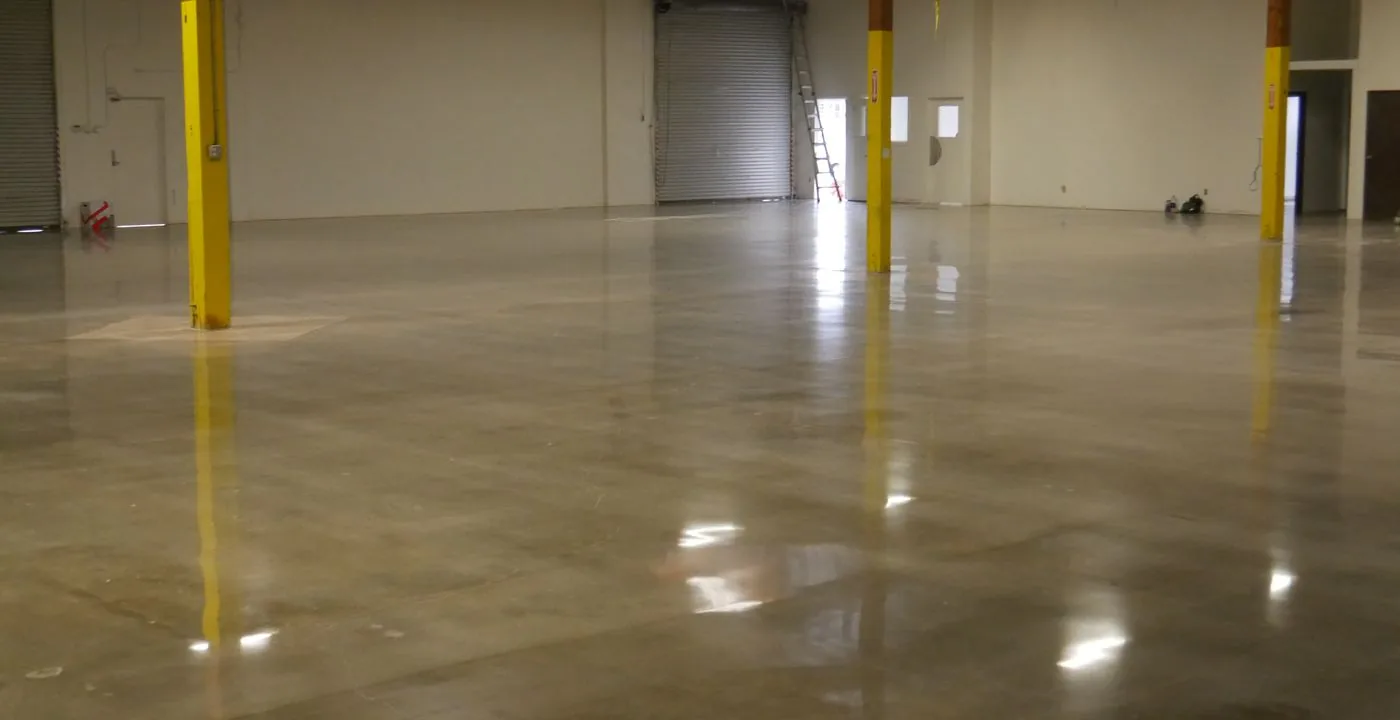
Polyaspartic is the fast-curing, UV-stable member of the polyurea family. It is a powerful topcoat and a demanding one to install, and the details decide how it ages.
What a polyaspartic floor coating is, in plain terms
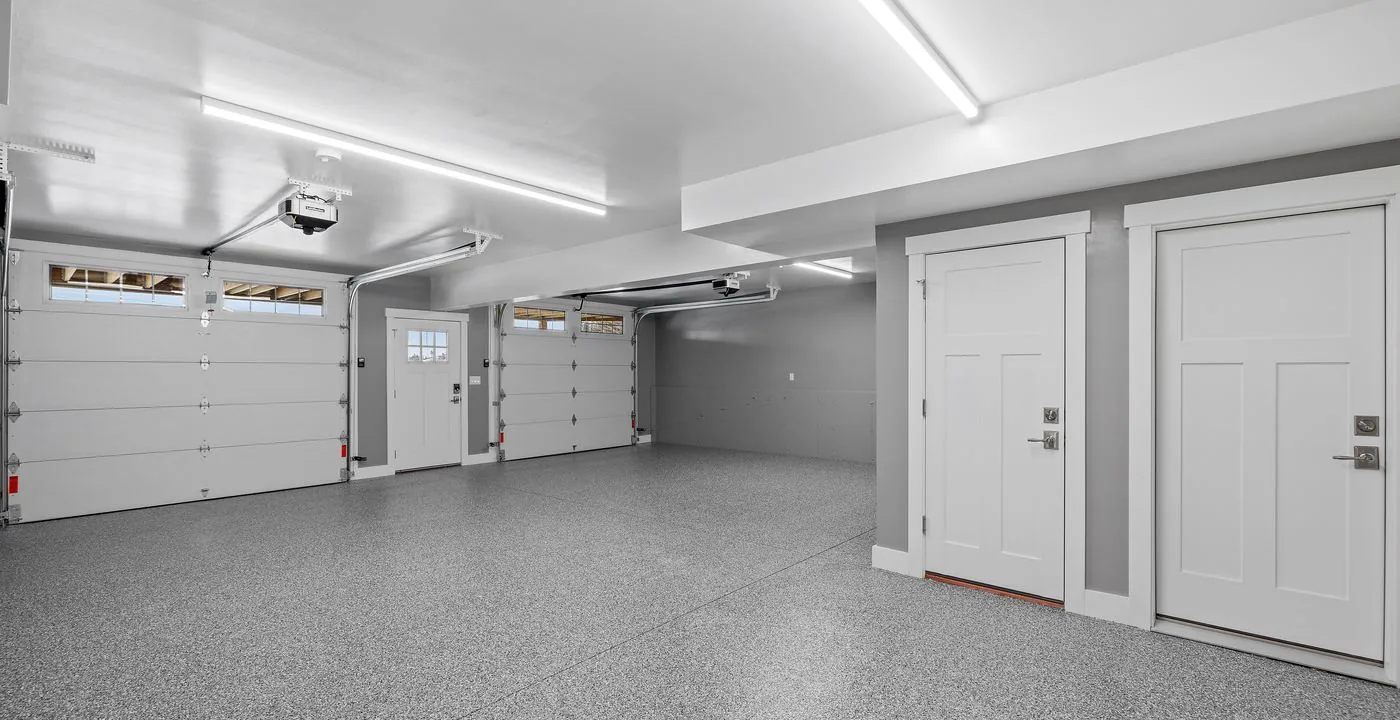
Polyaspartic coatings are a type of aliphatic polyurea. Two liquids, a resin side and a hardener side, are mixed on site and react into a hard plastic film. The chemistry was developed so that the reaction could be tuned: slow enough to roll out, fast enough that the film is walkable in hours instead of a day or more. The word "aliphatic" matters to homeowners because it describes a molecular structure that does not yellow in sunlight. That is why a clear polyaspartic over decorative chips in a garage with a bright door stays clear, where an exposed epoxy clear tends to amber.
People search for "polyaspartic floor coating," "polyurea garage floor coating" and "polyaspartic vs epoxy" as if these were three different products. They are one family and one argument. Polyurea is the umbrella. Polyaspartic is the slower, more forgiving, UV-stable branch that contractors can actually apply by hand. Pure fast-set polyurea gels so quickly it is usually sprayed with plural-component equipment. Products sold under both names overlap, and a single brand can use either word for different layers, which is why the data sheet for the exact product beats any label.
This page is the long version of the question: what polyaspartic does well, where it is touchy, how it behaves as a base versus a clear topcoat, what thickness really means, how it handles tires, salt and chemicals, and when a different system is the better call on a DMV slab. It is part of our epoxy flooring work, and it connects to the full garage build described on our garage floor epoxy page.
Polyaspartic resin is an amine-functional ingredient built from aspartic acid esters. It reacts with an isocyanate hardener to form urea linkages. In ordinary polyurea that reaction is almost instant. The aspartic ester modification slows it just enough to give a working window, then it runs hard once it starts. The same reaction is far less dependent on slab temperature than an epoxy cure, which is the real reason polyaspartic can be applied in conditions where epoxy goes sluggish.
The practical result is a film that dries from the surface in a short time and reaches useful hardness in hours. Because the reaction does not stop for a cool afternoon, cure behavior is more predictable across seasons. It is also why the product leaves little room for improvisation: once the two parts meet in the bucket, the clock runs on the material whether or not the crew is ready.
Most products are solvent-free or high solids. That means little film shrinks away as vapor, so the thickness you apply is close to the thickness you end up with, a point we return to in the section on mils.
Pot life is the whole game
A polyaspartic mix can be usable for only a short stretch after the parts are combined, and heat, humidity and a warm slab all shorten that stretch. That single fact explains most of the failures people blame on the product. Mixed too much at once, poured out slowly, rolled over a section that has already started to set, or left in the pail to "get ahead": each of those leaves lap marks, roller ridges, pinholes or a film that never bonds fully to what lies beneath.
It also explains why installer skill matters more here than with slower resins. A good crew mixes small batches, pours the material out onto the floor immediately, works to a plan of lanes and handoffs, and does not stop mid-field. A kit bought for one person to spread over a two-car garage, with hardener and resin combined in a single pail, is the version of the job most likely to go wrong.
Polyaspartic as a base coat versus a clear topcoat
The same family does two quite different jobs. Which one you are buying changes the preparation, the risks and the finished look.
Question
As a clear topcoat
As the base coat
What it does
Seals chips or color, adds UV stability, abrasion and chemical resistance
Bonds to the slab, builds film, holds chips, hides surface texture
Moisture tolerance
Sits over an already-cured base, so the slab matters less at this step
Directly exposed to slab moisture; needs a tested moisture plan
Typical sequence
Final coat or two over an epoxy or polyaspartic base
Applied right after grinding and repair, sometimes over a primer
Working-time pressure
High but contained; fewer variables on a flat base
Higher; open slab, absorbent concrete, cracks and joints to manage
Why choose it
UV stability and tire resistance without a long cure
One-day installs and cold-season jobs
Main risk
Lap marks, missed recoat window, thin film
Moisture-driven failure, pinholes from outgassing, weak bond if prep is thin
Many strong floors use a moisture-tolerant epoxy or primer first and polyaspartic last, because each material is working where it is strongest.
One-day systems and multi-day systems
Polyaspartic made one-day garage floors possible. That does not mean one day is always the better path.
True one-day system
Grind, repair, base, chips and clear all happen in a single long day. It suits dry slabs, good weather and a crew sized for the footprint. The tradeoff is that every step is tightly scheduled and there is little slack for a surprise in the slab.
Two-day hybrid
Day one covers grind, repair, primer or epoxy base and chips. Day two scrapes, vacuums and applies clear polyaspartic. The overnight break lets a slower base cure fully and gives time to inspect the surface before the topcoat locks it in.
Multi-day with moisture work
When the slab tests high, a moisture-mitigating primer comes first and needs its own cure window. The floor is then built in the usual layers. It takes longer, and it is the version that survives a basement or an old garage with no vapor barrier.
Return to service
Data sheets typically give a few hours before foot traffic and one to three days before vehicles. Cold and damp slow those numbers. Treat any single figure as a starting point for your specific floor.
What speed costs you
Speed asks for more crew coordination, more labor at once and less time to correct. It is also what makes the schedule friendly for homeowners who want their garage back and for businesses that cannot close.
How to decide
Pick on the slab and the environment first, schedule second. If the slab needs more time, a longer system is the cheaper decision over the life of the floor.
01
Temperature, humidity and dew point: the application window
Key point
Polyaspartic has a published working range, and it is not the air temperature on the weather app.
Data sheets commonly set a minimum and maximum around the 40 to 90 degree Fahrenheit range for substrate and air, a humidity ceiling, and a margin of about 5 degrees between the surface temperature and the dew point. A slab that is cold from overnight can sit below the dew point on a muggy morning and sweat, leaving a film of condensation that ruins adhesion even when the room feels dry.
In cold weather polyaspartic is one of the few options that keeps curing. That is why winter installs are possible if the concrete is warmed first and the garage is closed in. The limit is the slab, not the product: frozen or damp concrete will still reject the coating, and heaters that burn fuel and vent into the room add moisture of their own.
In hot weather the problem flips. Pot life shortens, the film can skin before it levels, and direct sun through a south-facing door can push the slab well above the air temperature. Good crews schedule around the sun, shade the door, mix smaller batches and work from the far wall toward the opening. The DMV summers of heat and heavy humidity make this a real concern from June through September, particularly in attached garages with poor airflow.
Ask how slab and surface temperature will be measured, not just air temperature.
Ask what the plan is if the dew point margin is not met on the day.
Ask how hot-weather installs are staged to protect pot life.
Moisture is polyaspartic's weak point
Polyaspartic films are fairly tight, and the base-coat versions are sensitive to water vapor leaving the slab. When damp concrete is coated with a fast-curing film, vapor looks for a way out. The result can be pinholes and bubbles as the film sets, or blistering and delamination months later. This is not a flaw unique to one product. It is how fast-curing, low-permeability coatings behave over wet concrete.
It is worth pressing on in the DMV because of the housing stock. Many 1950s through 1970s slabs have no vapor barrier at all, finished basements in rowhouses and split-levels hold seasonal moisture, and humid summers drive vapor up through concrete that appears dry. Even newer slabs with a polyethylene layer can carry high moisture early in their life.
A real plan starts with measurement. In-situ relative humidity probes under ASTM F2170 read moisture inside the slab, and calcium chloride testing under ASTM F1869 reports surface vapor emission. If readings exceed what the coating allows, the answer is a moisture-mitigating primer rated under ASTM F3010 for the exact system, or a different system altogether. A polyaspartic clear over a sound base is much less exposed than polyaspartic as the first layer on bare, wet concrete.
What a professional polyaspartic install involves
The steps below describe a typical polyaspartic floor. Exact materials, times and coats vary by system, so confirm yours against the written scope.
Moisture and condition assessment
The slab is tested for moisture, checked for old coatings, sealers and oil, and surveyed for cracks, joints and spalls. Findings decide whether a primer is required.
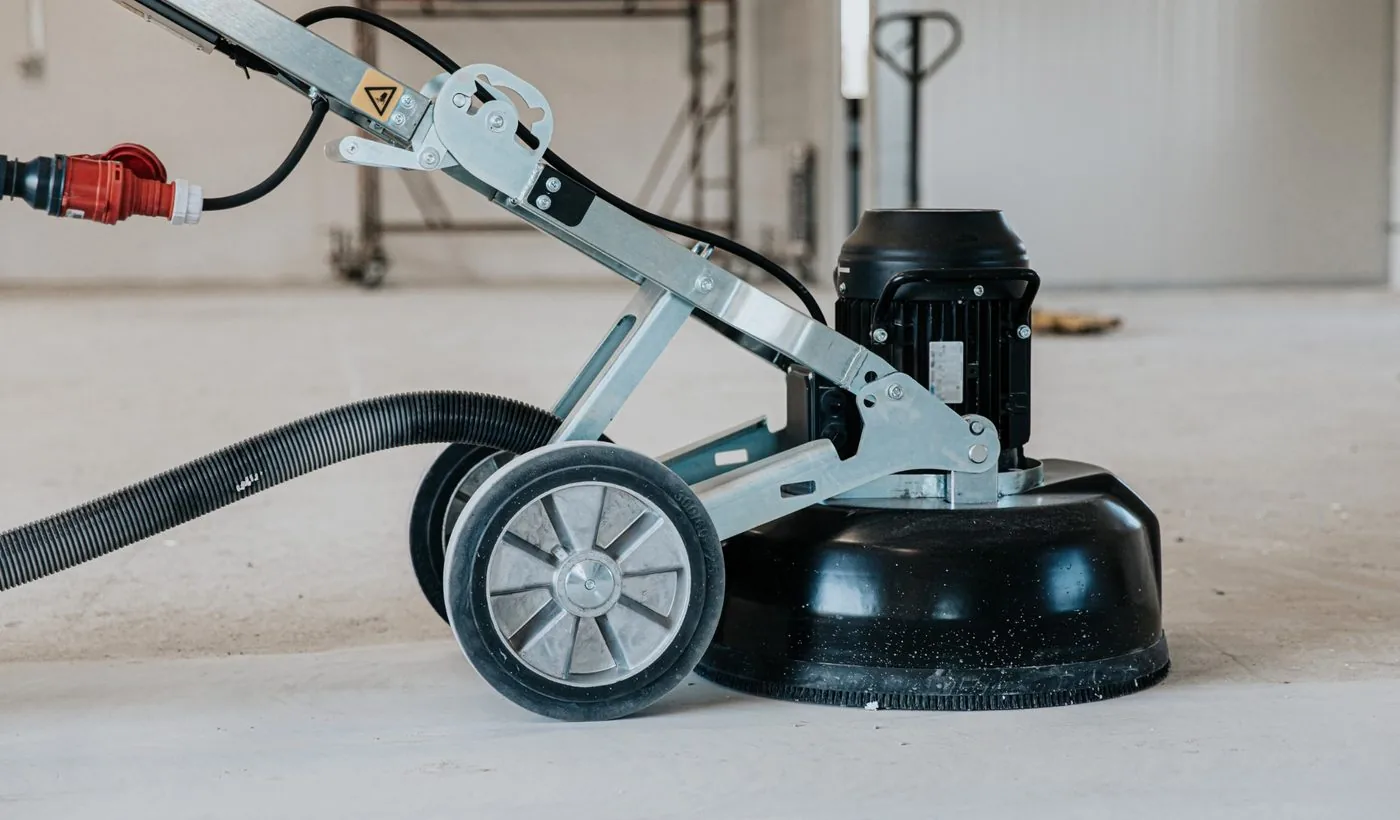
Mechanical diamond grinding
The surface is ground with diamond tooling to open the pores and produce a profile suited to the thickness of the system. Thin-film coatings generally want a lower ICRI profile than heavy build systems. Acid etching is not used.
Crack, joint and spall repair
Cracks are cleared and filled with a rigid repair material. Control joints are treated per the written scope. Pits and edges are patched and ground flush.
Primer or moisture control
Where the test results call for it, a primer or moisture-mitigating layer is applied and given its own cure time before anything else.
Base coat in measured batches
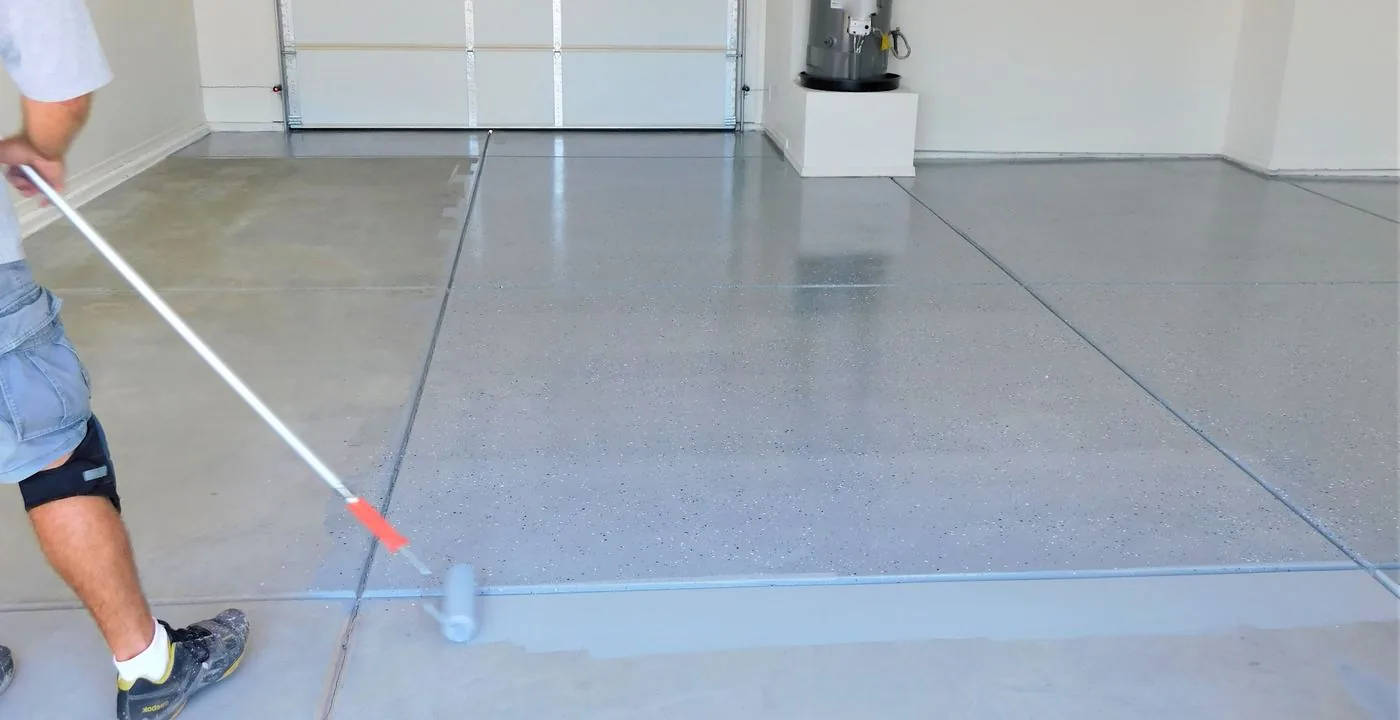
Polyaspartic or an epoxy base is mixed in small amounts and rolled in lanes. Color is chosen to complement the chips and hide the slab beneath.
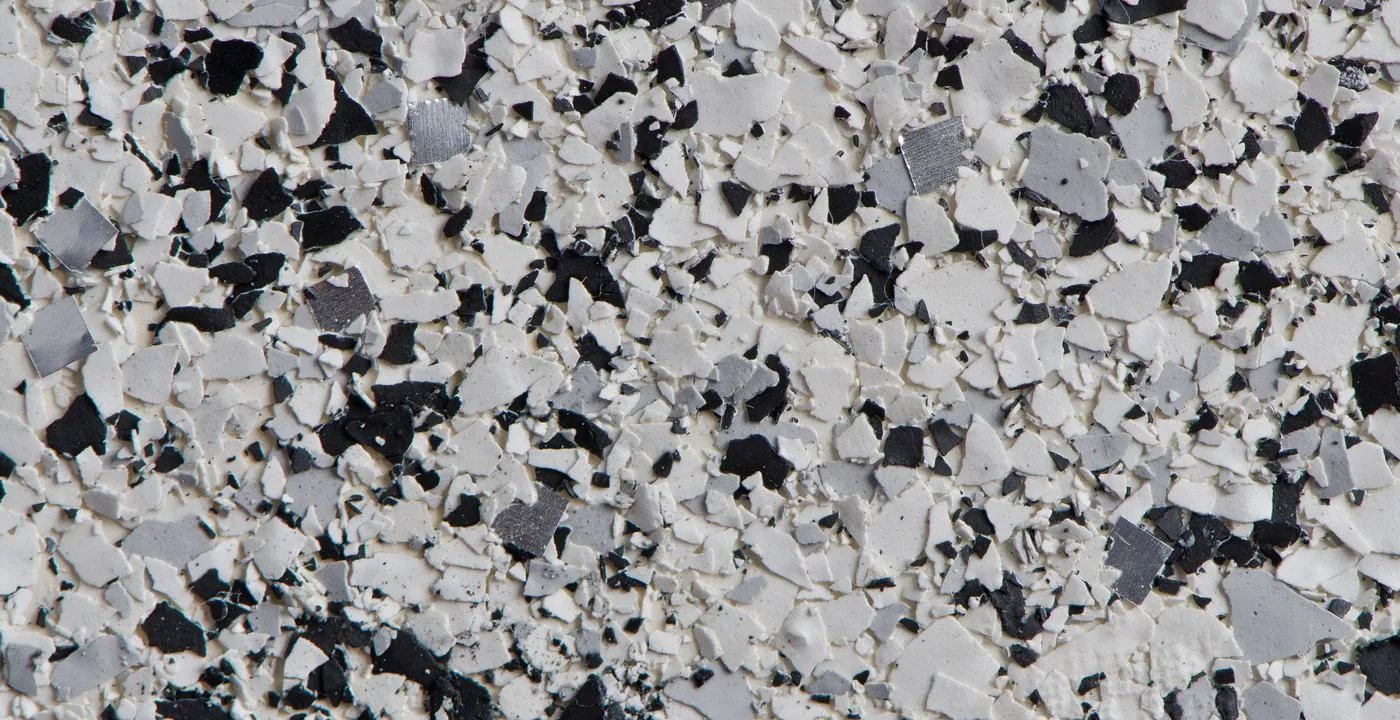
Flake or quartz broadcast
Decorative media is thrown into the wet base, then scraped and vacuumed once set. Full broadcast gives a heavily textured surface that the clear coat must fill.
Clear topcoat
One or two clear polyaspartic coats seal the media and set the final gloss, texture and wear surface. Anti-slip additive goes in here when required.
Cure, inspection and handover
The crew documents foot and vehicle return times, care instructions and what to avoid in the first days.
02
Thickness, mils and why more is not automatically better
Key point
A mil is one-thousandth of an inch. A sheet of copy paper is roughly 3 to 4 mils thick, which is a useful picture of what thin-film coatings are.
Polyaspartic data sheets list a recommended thickness per coat, and many clear coats are applied in thin films because the material is expensive and cures quickly. A thicker single pass is not simply better: too much film in one coat can trap solvent or heat, cure unevenly, or shrink and craze. A better approach is the right film per coat, and a second coat when the system calls for one.
Thickness matters most where the floor is abused. Under tires, at the garage threshold and around jack points, a thin film wears or chips through sooner than a floor built up with a base coat, chips and two clears. The chips themselves add mass and protect the base from direct wear, so a full-broadcast floor with a heavy clear is usually the most durable decorative configuration.
Ask for the number. A contractor should be able to say what each layer is, how many coats go on, and what film thickness the data sheet recommends per coat. "Proprietary" is not an answer to a question about the layers on your floor.
Performance: tires, chemicals, salt and sun
These are general properties of a properly bonded, fully cured polyaspartic film. Specific products and cure conditions vary.
Hot-tire pickup
A cured polyaspartic film with a sound bond generally resists the heat and rubber compounds tires deposit. Failures under tires usually trace to undercure, thin film, contamination or a weak bond rather than to the chemistry.
Chemical resistance
Motor oil, brake fluid, antifreeze, gasoline, road salt and household cleaners wipe off a cured film. Prolonged soaking in aggressive solvents or battery acid is a different matter, so wipe spills instead of letting them stand.
Salt and brine
VDOT pretreats roads with salt brine and stockpiles salt every winter, and that residue rides into garages on tires. A sealed, non-porous film keeps it from soaking into the slab, and a rinse removes it before it sits.
UV stability
The aliphatic structure resists yellowing and chalking. This is one of polyaspartic's clearest advantages over epoxy for garage doors with direct sun, patios and open bays.
Abrasion and impact
Polyaspartic is hard and wear resistant but still can chip under a dropped steel tool or a heavy point load. Chips plus a second clear coat improve resilience.
Flexibility
It is somewhat more flexible than many epoxies, which helps with small thermal movement. It will not bridge a moving crack, and cracks in the slab can telegraph through unless properly repaired first.
Gloss, satin and anti-slip choices
Finish is partly cosmetic and partly safety. Most clear coats can be modified without changing the chemistry.
Finish
What it looks like
Best fit
Tradeoff
Gloss
Wet, glassy and reflective
Showrooms, workshops, display garages
Shows scratches, dust and tire marks more readily
Satin
Soft sheen with lower glare
Most home garages and basements
Slightly less depth of color
Matte-leaning
Flat, stone-like
Modern interiors and covered patios
Can hold dirt in texture if not cleaned
Fine anti-slip additive
Subtle grit felt underfoot
Garage aprons, entry steps, laundry rooms
Harder to squeegee and mop than smooth floors
Heavy aggregate
Coarse and visible
Ramps, wet areas, shop floors
Less comfortable on knees and more difficult to clean
For public or wet areas, ask for slip testing against ANSI A326.3 wet DCOF, which is a comparison tool, not a promise.
03
Fumes, odor and the first week
Polyaspartic is not odorless. Many modern formulations are low odor, and some are labeled solvent-free, but the isocyanate side still needs respiratory protection for the crew during mixing and application. Odor in the garage typically fades within a day or two with airflow, though it can linger longer in a closed or attached space. In an attached garage, close interior doors, run fans if possible and keep pets and young children away until the sheet says it is safe.
The first week is where good floors are made or damaged. Even after vehicles are allowed, the film continues to harden. Avoid dragging heavy tool chests, parking a hot trailer tongue in one spot, letting standing water sit, and using harsh cleaners. A floor that feels ready is not always at full chemical resistance.
04
Maintenance, repair and recoating
Key point
Routine care is simple. Sweep or blow off grit, because sand and stone track in and act like sandpaper.
Mop with a neutral pH cleaner and a soft pad. Rinse road salt in winter. Wipe oil and fluids. Skip abrasive scrub pads, wire brushes and acidic cleaners, which dull the clear coat and bite into the surface.
Small chips are repaired by cleaning, scuffing the area and filling with matching resin. Large failures need grinding back to a sound edge and feathering a new patch. A worn floor that is still well bonded can usually be recoated: the surface is scuffed or lightly ground, any damage is repaired and a new clear coat is applied. A recoat is a maintenance step, not a rebuild.
A floor that is peeling in sheets is a different story. That is a bond failure, not wear, and it usually means grinding off the old coating entirely rather than recoating over a weak layer.
When polyaspartic is not the right choice
Honest limits are part of choosing well. These situations call for a pause or a different system.
Slab with high moisture and no plan
If tests exceed the limits for the system and a primer is not in the scope, polyaspartic will likely blister or pinhole. A basement with active seepage needs drainage correction first.
Large commercial kitchens and washdown areas
Heavy hot-water thermal shock and constant moisture are better handled by urethane cement, which is built for those conditions.
Slabs with significant structural movement
Active cracking and heaving telegraph through any hard coating. Repair or saw-cut and re-pour first.
Warm, tight, DIY-in-one-pail scenarios
If the plan is a single person spreading a large footprint in a hot garage, polyaspartic is the most unforgiving option. A slower epoxy gives more working time.
When the look should be deep and handcrafted
For flowing color and depth, metallic epoxy is better suited, with polyaspartic as the protective clear coat.
Retail and online polyaspartic kits exist in home improvement stores and from coatings suppliers. This table is about differences in method and risk, not about any one brand.
Factor
Typical retail or online kit
Professional installation
Surface preparation
Often chemical etching or a hand tool
Heavy-duty diamond grinding with dust control
Material volume
Small packages sized for one person
Batch mixing sized to the crew and the footprint
Working time
One person facing a short pot life
Multiple hands, lanes and planned handoffs
Moisture control
Usually left to the homeowner to test
Tested and addressed before coating
Film thickness
Limited by what the kit supplies
Chosen for the use and measured
Equipment
Roller, squeegee, spiked shoes
Grinders, industrial vacuums, scrapers, heaters and fans
Margin for error
Small
Higher, because more can be corrected on the day
Many homeowners finish a kit successfully on a dry, newer slab and a manageable footprint. The difficulty rises with moisture, size and heat.
It is a two-part aliphatic polyurea coating that is mixed on site and rolled onto prepared concrete. It cures quickly, resists UV yellowing and forms a hard, wear-resistant film. It is used as a clear topcoat over chips or color, and in some systems as the base coat.
Is polyaspartic the same as polyurea?
It is a branch of the same family. Polyurea is the broader term, and pure fast-set polyurea is typically sprayed with specialized equipment because it gels almost instantly. Polyaspartic is slowed so it can be rolled by hand, and its aliphatic structure resists yellowing. Product names overlap, so rely on the data sheet.
Polyaspartic vs epoxy: which is better?
Neither is better everywhere. Epoxy builds thickness, bonds well and tolerates a slow application, but it can amber in sunlight and takes longer to cure. Polyaspartic cures fast and holds color, but has a short working time and is more sensitive to moisture and installation technique. Many floors combine them.
How long does a polyaspartic floor coating last?
It depends on slab preparation, moisture, film thickness, traffic and exposure. A well-prepared floor with a proper film can serve for many years in a home garage, and the clear coat can often be refreshed. Poor preparation is the most common reason a floor fails early.
Can polyaspartic be applied in cold weather?
Yes, within the data sheet limits. It keeps curing at temperatures where epoxy slows down, so winter installs are possible if the slab is warm and dry and the dew point margin is respected. Freezing or damp concrete is still a no.
Does polyaspartic work on a damp or older slab?
Not without a plan. Moisture is its main vulnerability, and many DMV slabs from the 1950s to 1970s have no vapor barrier. We test for moisture before coating, and a moisture-mitigating primer or a different system may be needed.
How thick is a polyaspartic coating?
Thickness is measured in mils, thousandths of an inch. Each coat has a recommended range on the data sheet. A decorative system builds total thickness from a base, chips and one or two clears, so the finished floor is thicker than any single coat.
Will polyaspartic stop hot-tire pickup?
A properly bonded and fully cured film generally resists it. Pickup usually points to a bond, cure, contamination or thickness problem rather than the chemistry alone, so the preparation and the cure window matter as much as the product.
Does polyaspartic smell, and is it safe?
Many formulations are low odor, but installers wear respirators during application. Odor typically fades within a day or two with ventilation. Keep the garage ventilated and follow the written return-to-use guidance.
Can I put polyaspartic over an existing epoxy floor?
Often yes, if the existing coating is well bonded, clean and abraded for a new bond. A weak or peeling old floor must be ground off first. A bond test on a small area is a sensible step.
Are the polyaspartic kits at home improvement stores the same as professional systems?
They use related chemistry, but the method differs: preparation, batch size, working time, moisture control and thickness. Kits can work on a dry, small, newer slab, and the risk climbs with size, heat and moisture.
How do I clean and maintain a polyaspartic floor?
Sweep grit, mop with a neutral cleaner and a soft pad, rinse salt in winter and wipe spills. Avoid abrasive pads and acidic cleaners. Minor wear can be refreshed with a recoat after a light abrasion.
Neither coating wins every contest. Here is how epoxy and polyaspartic really differ in chemistry, cure, sunlight, hot tires, moisture and repair, and which one fits a garage, basement, shop or commercial floor.
Two quotes for the same garage can sit far apart and both be honest. Here is what actually moves an epoxy flooring quote, and how to compare bids so you are judging the same job.
Epoxy floors do not have one fixed lifespan. Prep, moisture, topcoat, traffic and care decide it. Here is what to expect in the DMV and how to stretch it.